Firstly, I’m assuming that you have purchased my VESA monitor Wattbike mounting bracket and/or AppleTV ‘Backpack’ Wattbike mount. Otherwise, the following information will be absolutely useless. If you want more information about this solution, then this can be found on my blog HERE and the products can be bought here:
Wattbike VESA TV Mounting Bracket
Apple TV ‘Backpack’ Wattbike mount
Installing the VESA monitor/TV mount to your Wattbike Atom
Firstly, ensure you have the components at the ready.
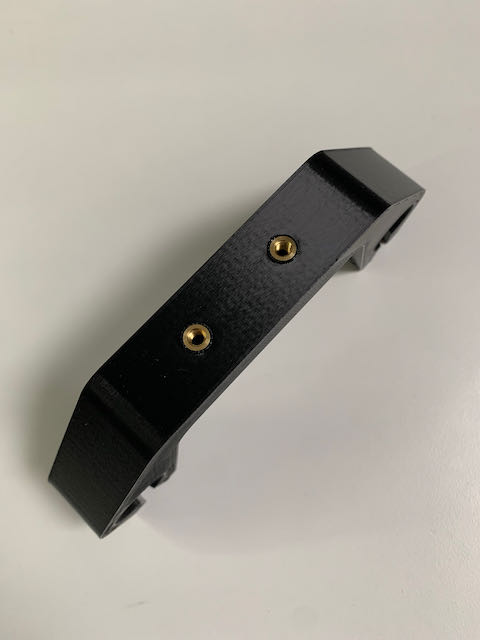
Two of these mounting brackets – which are identical to the AppleTV bracket. These are interchangeable, so don’t worry about mixing them up…
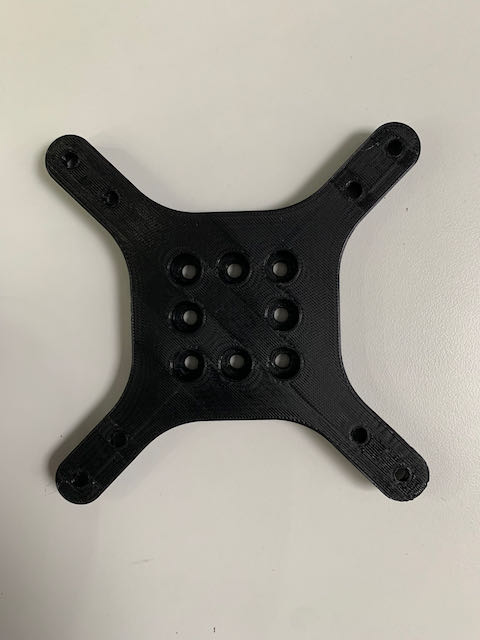
And one of these mounting plates…
And some bolts and washers that make up this…
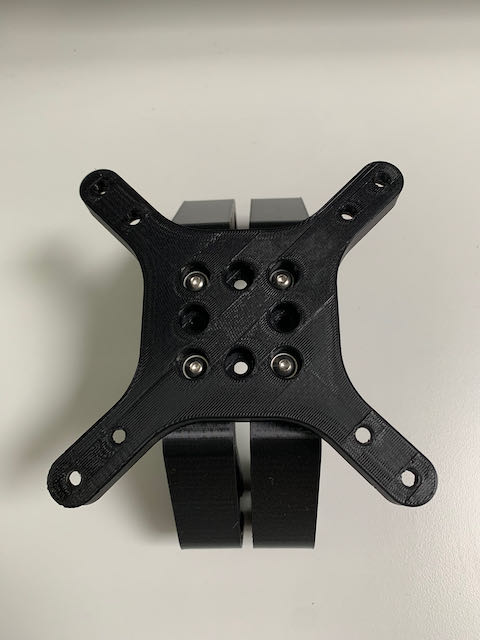
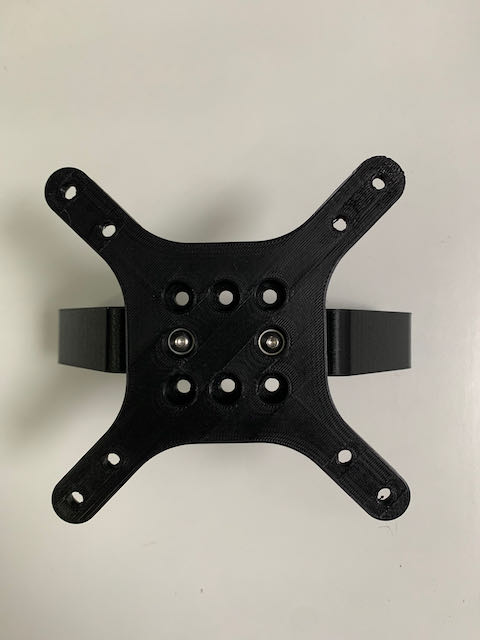
The bolts and washers will be already in the components. All you need to do is unscrew them, ready for assembly as above. This is where the flexibility of the solutions comes in. If you have a lightweight monitor, for example, a portable LCD monitor that weighs around 0.5kg, then you would only require one bracket and the mounting plate to assemble like below…
Now, for installation onto your monitor, I would suggest that you do this BEFORE you mount the brackets to the Wattbike bar. However, it can be done either way. I’ve found it easier to do this by attaching the monitor first. Personal preference.
Slide the bars out of the Wattbike Atom by releasing the red clamps that adjust the height. This will allow you to fully remove the bars and install the mounting bracket(s) on the bar.
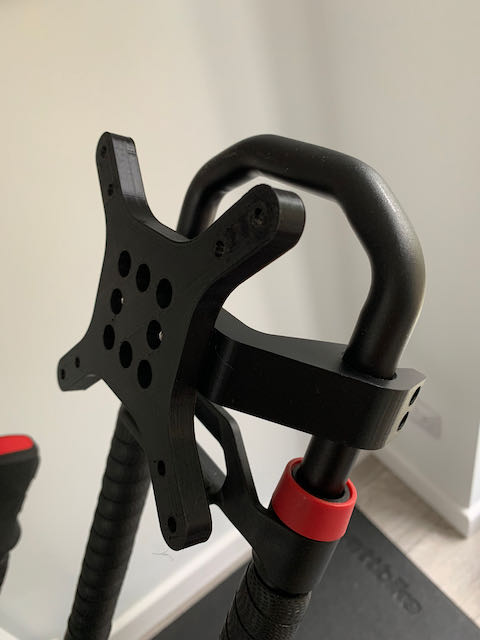
The above picture shows the single bracket installation. However, this is the same process for the double ‘heavy duty’ bracket.
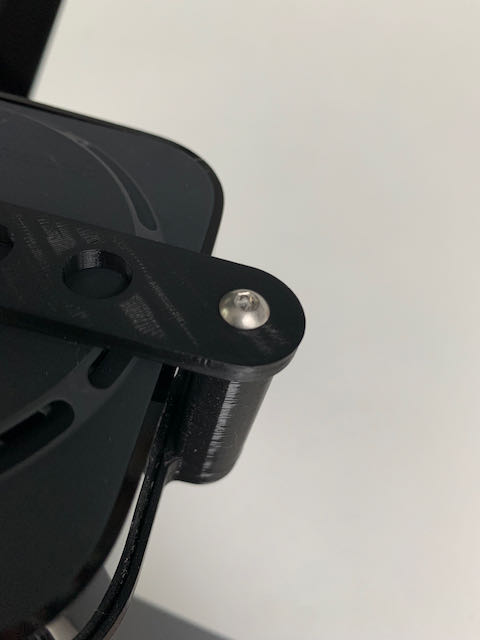
Once fitted and positioned, you can now tighten the Allen key bolts on the end of the brackets. These need only finger tight adjustment. Once all are tightened, then this will provide a vice-like grip. DO NOT OVERTIGHTEN!!
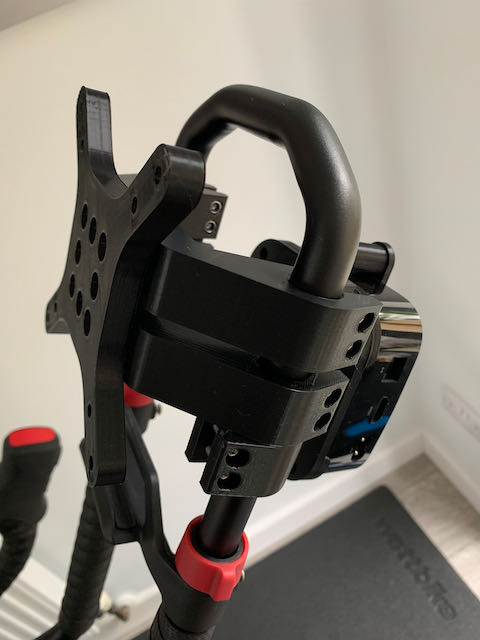
The below photograph shows the Allen key position. Even though this is for the AppleTV backpack, the bracket is exactly the same and completely interchangeable.
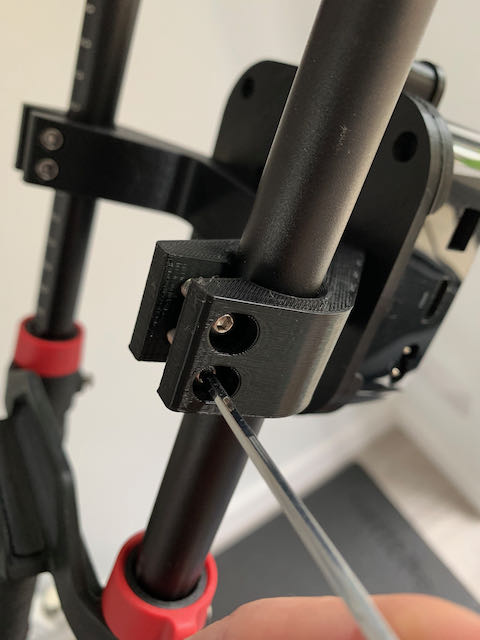
The Allen keys are backed with nylon lock nuts, so will make a solid connection that should not be undone easily.
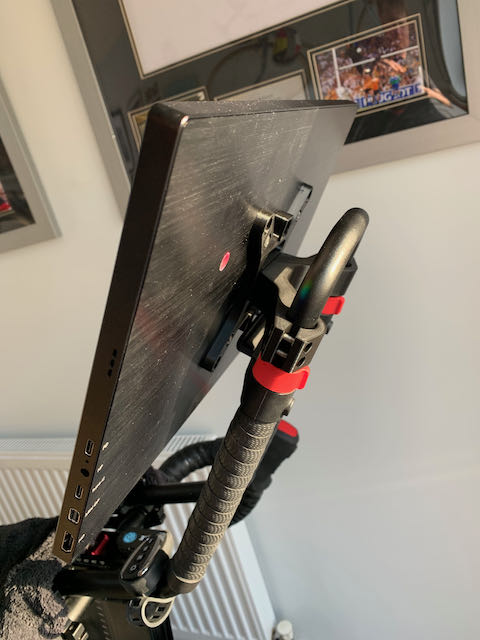
Once positioned, and monitor mounted, then you’re all set to go. Happy riding. Continue reading for the Apple Backpack instructions.
Installing the AppleTV ‘Backpack’ mount to your Wattbike Atom
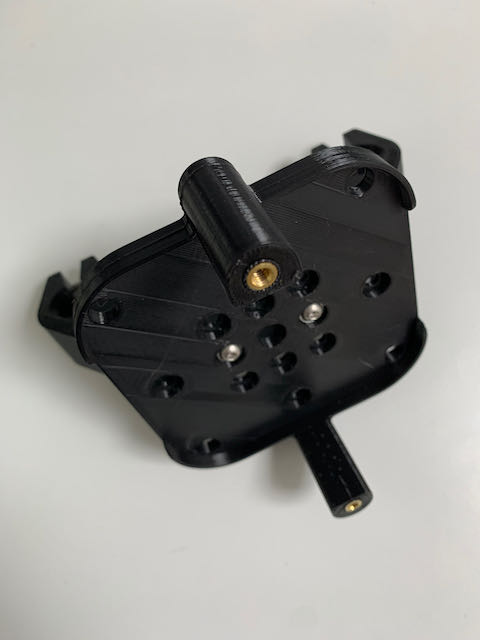
Ensure you have the following components…

One bracket, one mounting plate and one securing strap for holding in the AppleTV. And, all the fasteners. They should be already attached to the brackets before shipping.
It’s important that the mounting plate is attached to the bracket BEFORE installing the AppleTV into the mounting plate. This allows for securing the bracket bolts as per below…
Once attached and secured nice and tightly, then you are ready to install the AppleTV to the mounting plate – see below…
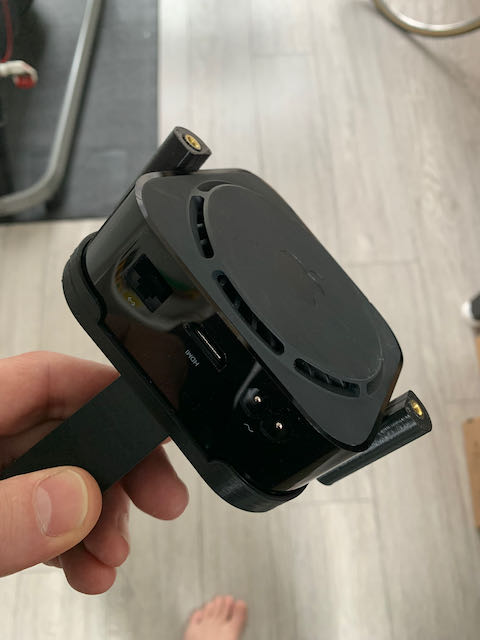
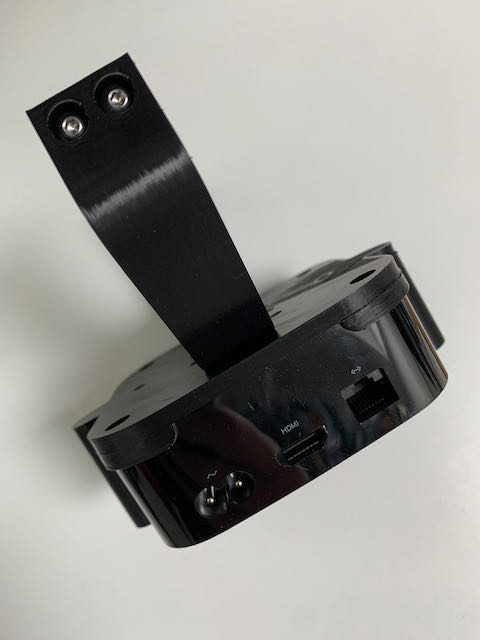
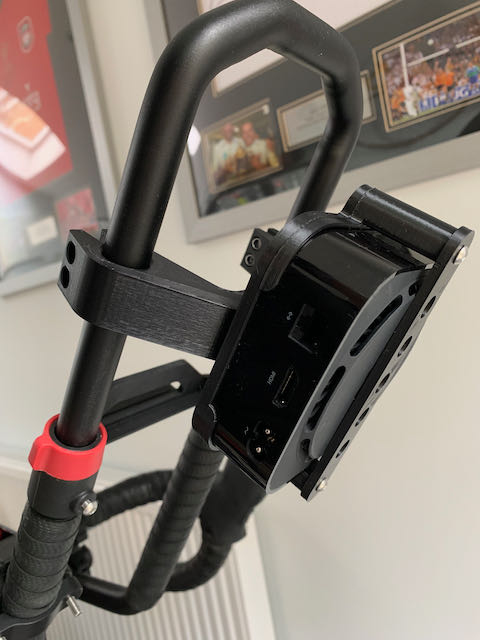
Please pay special attention to how the above AppleTV is mounted. The vents on the AppleTV are facing UP and the top fits into the bottom fixings.
The Apple TV may take a little persuading as it’s a nice and snug fit. However, apply even and firm pressure and it will ‘click’ into place. Do not use the fixing towers (the long bits sticking up from the mounting plate) as leverage. They may break and are not designed for any lateral force. There will be little or no space between the AppleTV and the plate base. Ensuring the amounting plate is not cold will help you – but don’t use any excess heat source like and once or hairdryer!! The plastic will melt at around 170 degrees.
IMPORTANT: Note the above image and how the Apple TV is installed. It’s critical that the ports are to one side so that you can access them.
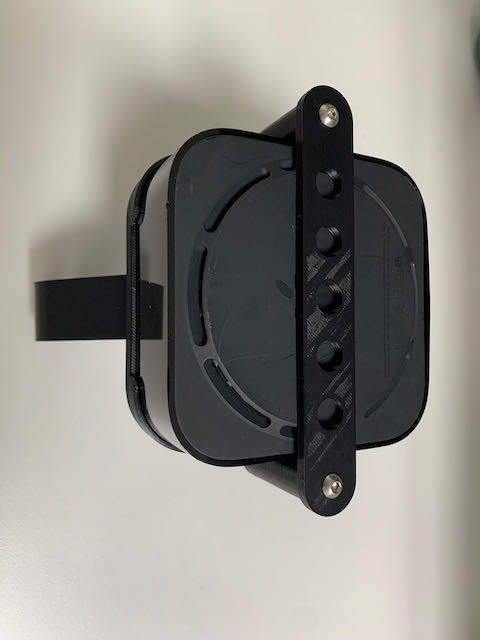
The next step is to secure the AppleTV to the mounting plate by fixing the strap to the top of the bracket as per the below photograph.
After securing the AppleTV to the mounting bracket, then the unit is fully assembled and ready for installation. The installation is identical to the above VESA bracket of you have already done this and should be very straightforward.
You have multiple ways of positioning the brackets together and I’ll leave this up to you. The AppleTV first, or the VESA mounting bracket first – it’s up to you where you want your kit now.

All that’s left to do now is to connect all the cables and power and ride your Wattbike Atom! Below is a photo of the full setup – including the Dual Screen Mounting bracket.


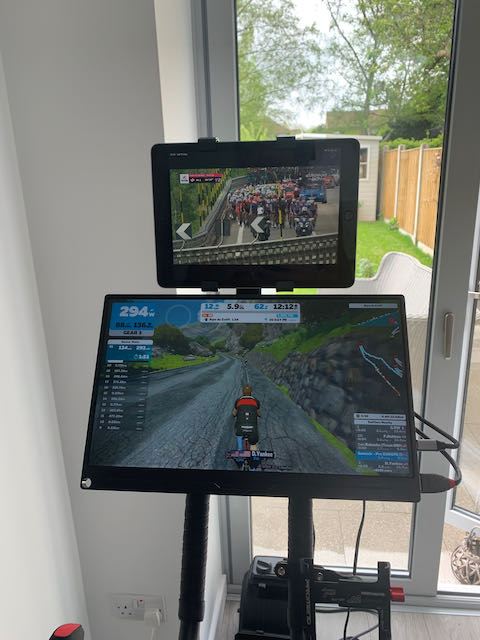
Neat eh? I’ll maybe see you on Zwift.
Any questions, then please email me for further support at ian@placeofthings.co.uk and I’d be happy to jump on a video call, Facetime or Wattsapp to solve any issues or provide a bit of moral support!
Neat eh? I’ll maybe see you on Zwift. Good luck and happy Wattbiking.
Ian