• Skip to primary navigation
  • Skip to main content
  • Skip to footer
Place of THINGS

Place of THINGS

Wattbike Accessories

  • HOME
  • SHOP OF THINGS
    • PHONE HOLDERS
    • DUAL SCREEN MOUNTS
    • REMOTE CONTROLLER MOUNTS
    • WATTBIKE ATOM ACCESSORIES
  • INSTRUCTIONS
  • CONTACT
  • BASKET
  • CHECKOUT
  • BLOG OF THINGS

Designing and 3D Printing Wattbike Atom Accessories at Home

Hello Wattbikers (and fellow tinkerers)… I’m still alive 😅

February 4, 2026 by Ian

If you’ve been thinking, “Has Ian from Place of Things been swallowed whole by a Wattbike flywheel?” — fear not. I’m here. Slightly sleep-deprived. Mildly over-decaffeinated. And surrounded by small plastic parts that I absolutely promise are not an early sign of some kind of cycling-related breakdown.

First things first: thank you. Genuinely. To all the brilliant new Wattbikers who’ve joined the Place of Things believers… you’ve been rolling in like a perfectly paced sweet spot session — steady, relentless, and somehow still leaving me gasping.

And secondly… You are also the reason I haven’t updated the site in a while.

Because I’ve been flat-out doing the glamorous behind-the-scenes work of:

  • packing orders like I’m in a pit crew
  • troubleshooting my 3D printer like it’s a old Italian car
  • and occasionally emerging from the workshop to remember what daylight looks like

So yes — the silence wasn’t me vanishing. It was me in full goblin-mode, manufacturing little upgrades for people who refuse (quite rightly) to accept clunky shifting and suboptimal Wattbike vibes.

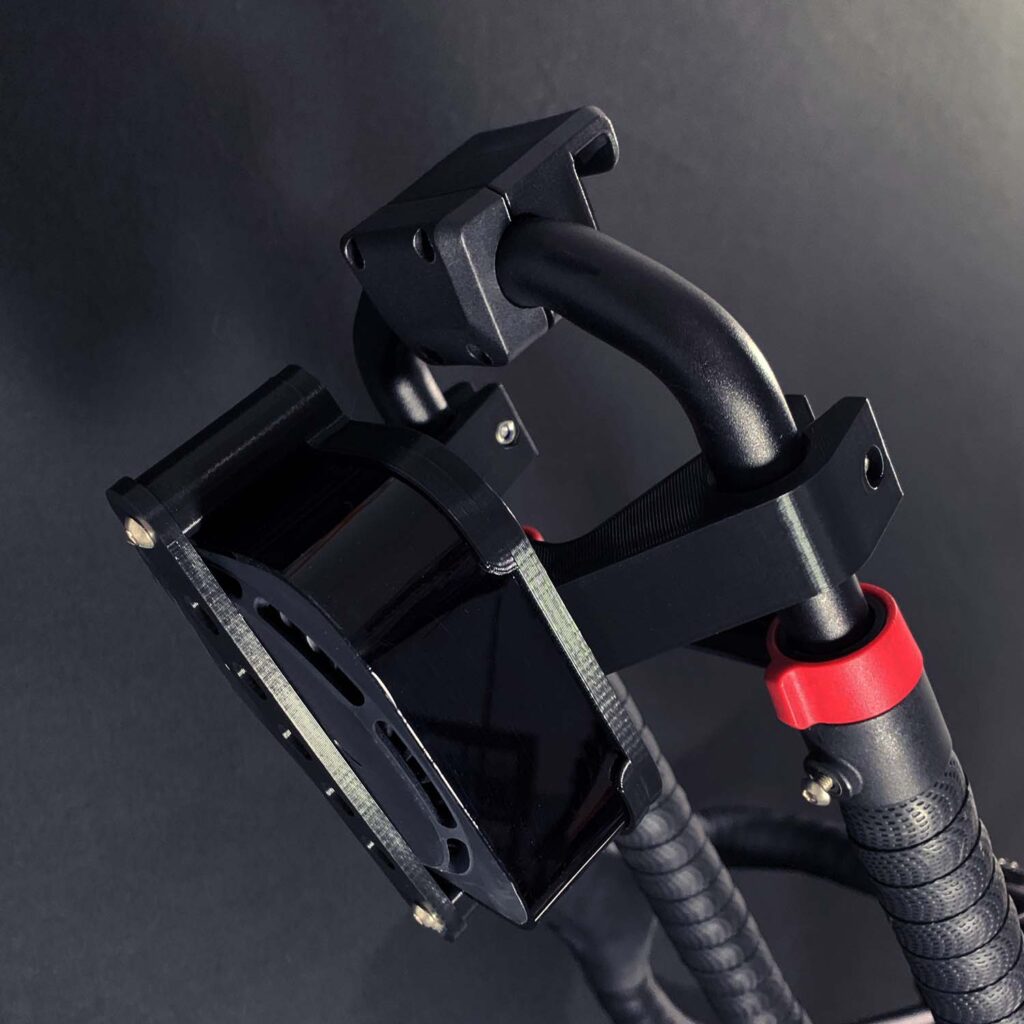
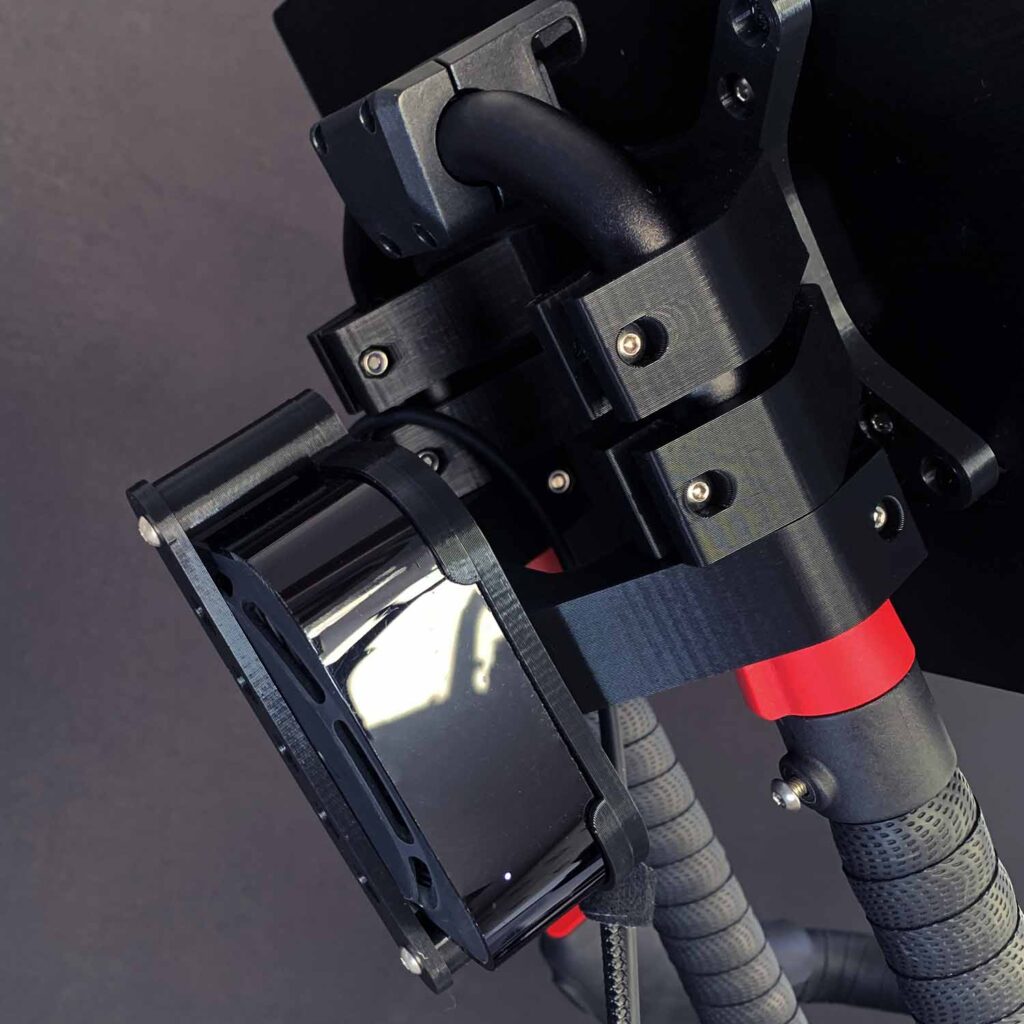
The Sureshifters: the tiny plastic saga that took over my life

The last couple of years have basically been The Age of the Sureshifters. And there are now hundreds of you, and more joining every week.

It started as a simple thought:

“Surely… surely there’s a better way to solve shifting woes than swearing at the bike and threatening it with the bin.”

So I did what any thoughtful-but-slightly-unhinged Wattbiker would do:

I made a thing.

A small, practical upgrade. A little bit of engineering. A dash of “I can fix this.”

And suddenly… Sureshifters were born.

Since then, it’s been tweaked here and there — tiny refinements, small improvements — but the core idea has stayed the same:

Make shifting feel like it should’ve felt all along.

And honestly, the response has been ridiculously positive. The feedback has been the kind of thing that makes you stop, grin, and think, “Wait… this crazy little idea actually helped people.”

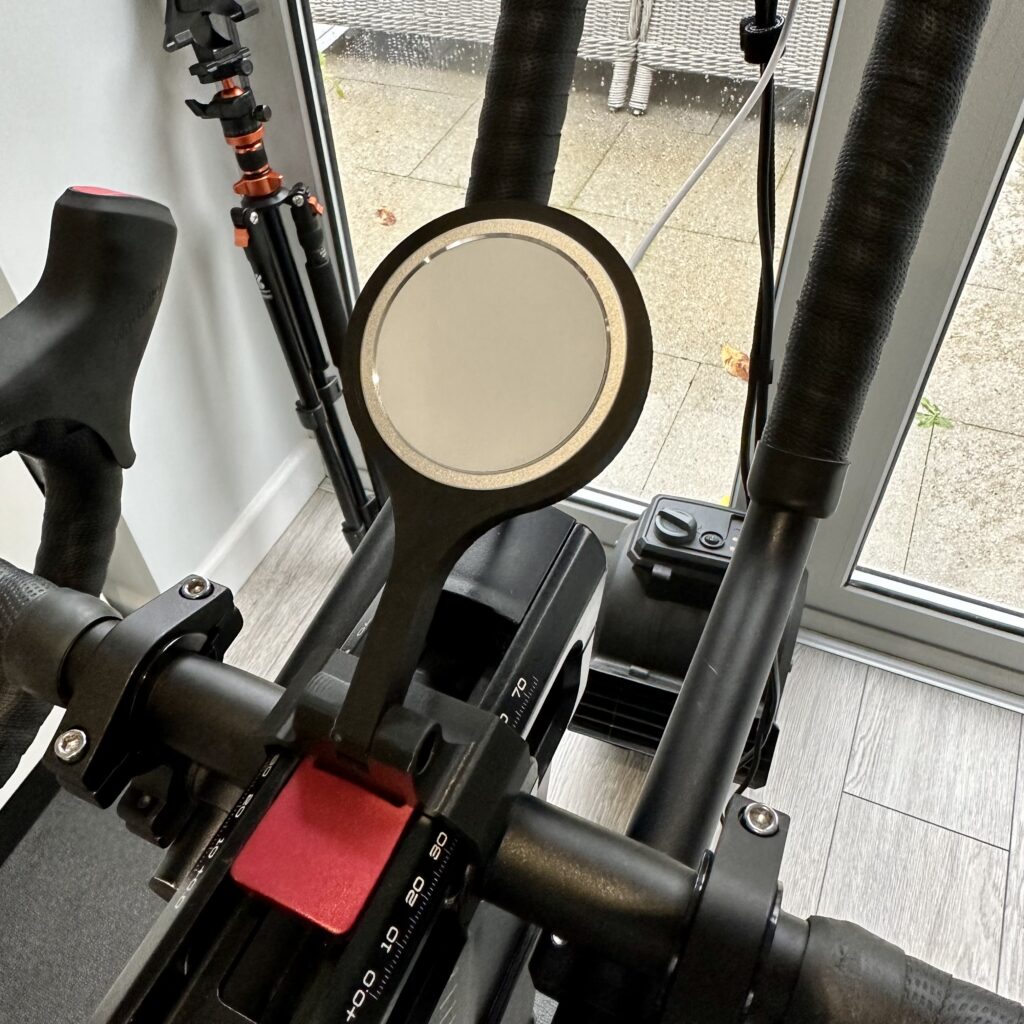
The ultimate durability test: me being… me

Here’s my favourite part.

I still have my original prototype fitted.

Not the “nice” one.

Not the polished, production version.

The OG.

And I use it a few times a week enthusiastically — with absolutely no mercy. If anything is going to fail, it’ll fail under my watch because I ride like I’m trying to outrun my own questionable life choices.

And they’re now two years old.

Two years of sessions. Two years of abuse. Two years of me refusing to be gentle.

Not bad for a bit of plastic…

…obviously well engineered 😉

So… what now?

Well, I’m still here. Still tinkering. Still building upgrades that start as “something I needed” and end up becoming “something the community wanted.”

And if you’ve ordered from me, supported the site, recommended me to a mate, or even just sent a message saying “this fixed my shifting and saved my sanity” — honestly: thank you.

It means the world. And it keeps the printer humming.

Right. I’ll stop before this turns into a full emotional cooldown ride.

Until next time:

Keep Wattbiking. Keep smashing workouts. Keep chasing those virtual rides like they owe you money.

Happy Wattbiking,
Ian

Filed Under: Designing and 3D Printing Wattbike Atom Accessories at Home

Elevate Your Cycling Experience with a Wattbike VESA Screen Mount and Apple TV Backpack

March 24, 2023 by Ian

Introduction

The world of indoor cycling has come a long way in recent years, and it continues to evolve rapidly with technological advancements. With more people turning to indoor cycling for their fitness routines, it’s essential to have the correct setup to create an immersive and engaging experience. If you’re a Wattbike Atom user, you’re already on the right track. However, there’s always room for improvement, and that’s where the Wattbike VESA Screen Mount and Apple TV Backpack come into play. In this blog post, we’ll explore how these two innovative accessories can transform your cycling experience by offering a big-screen experience and the convenience of a closely connected Apple TV.

Wattbike VESA Screen with ATV

Big Screen Experience

One of the key factors in creating an immersive indoor cycling experience is having a large, high-quality screen to display your training apps, like Zwift or TrainerRoad. With the Wattbike VESA Screen Mount, you can easily attach a large TV or monitor to your Wattbike Atom, bringing the virtual world of your favourite training apps to life right in front of you. The VESA mount is designed to be compatible with various screen sizes and VESA patterns, making it versatile and suitable for a wide range of users.

By having a big screen mounted directly to your Wattbike Atom, you’ll be able to enjoy crystal-clear visuals and a more immersive cycling experience. No longer will you have to squint at a small tablet or phone screen while trying to keep up with your virtual group rides or follow your training plan. With the big screen in place, you’ll feel more connected to the virtual world and your fellow riders, motivating you to push harder and achieve your fitness goals.

Wattbike Apple TV Mounting Solution

Convenience of Apple TV

To further enhance your indoor cycling experience, the Apple TV Backpack is a game-changer. This compact mount is designed to securely attach an Apple TV to the back of your VESA-mounted screen, keeping it close and connected without any unsightly cables or clutter.

The Apple TV offers a wealth of benefits for indoor cyclists. Firstly, it provides access to a vast array of fitness apps, including Zwift, TrainerRoad, and Sufferfest. The user-friendly interface makes it easy to switch between apps, track your progress, and access your favourite workouts. Additionally, Apple TV supports 4K resolution, ensuring that your big screen experience is as sharp and vibrant as possible.

Moreover, Apple TV seamlessly integrates with other Apple devices, such as iPhones, iPads, and MacBooks. This means you can easily stream your favourite music, podcasts, or even a movie during your workout, all while keeping your other devices free for other tasks. Plus, with the convenience of Bluetooth connectivity, you can connect your heart rate monitor, headphones, or other fitness accessories to the Apple TV for a fully integrated workout experience.

By combining the Wattbike VESA Screen Mount with the Apple TV Backpack, you can elevate your indoor cycling experience to new heights. The big screen experience and the convenience of a closely connected Apple TV will transform your Wattbike Atom into a state-of-the-art training platform, motivating you to push harder, reach your goals, and truly enjoy your time on the saddle. Don’t settle for less – invest in the right accessories to make your indoor cycling experience the best it can be.

Wattbike VESA & Apple TV
Wattbike VESA Screen with ATV

…and Finally. What is VESA?

VESA, an acronym for Video Electronics Standards Association, is an international organisation that establishes and supports industry-wide standards for various display technologies, including mounting systems.

VESA mounting standards are widely adopted for TV and monitor mounts, ensuring compatibility between mounting devices and screens. When it comes to the Wattbike VESA Screen Mount, this means that the mount adheres to these established standards, making it compatible with a wide range of TVs and monitors that also follow VESA guidelines.

As a result, you can trust that your screen will be securely and safely mounted to your Wattbike Atom, ensuring a seamless and enjoyable big screen experience.

Filed Under: Designing and 3D Printing Wattbike Atom Accessories at Home

How to upgrade from a Wattbike Stem Universal Phone Mount to a MagSafe Stem Phone Mount

November 19, 2022 by Ian

I’ve produced a video to demonstrate how to upgrade from a Stem Mount and also how to fit a Magsafe charge to the Magsafe Mount.

Filed Under: Designing and 3D Printing Wattbike Atom Accessories at Home

Introducing (by popular request) my Wattbike MagSafe Phone Mounting Solution.

November 15, 2022 by Ian

At last, and after many, many requests, I can introduce my new products – aimed at MagSafe phone users. A stem-based bracket using a MagSafe charger is neatly integrated into the mount.

It’s been a while, as I needed to source a quality MagSafe charger at a reasonable cost to ensure an affordable solution (especially considering the official Apple MagSafe Charger is £45).

Anyway, here’s a preview. The release version is coming very soon. However, it will be in very limited numbers. So, let me know via my contact form if you are interested. The price will be £32.50, including the MagSafe Charger. So, you’ll have everything you need to get charged whilst you ride!

Wattbike Atom MagSafe Phone Mount
  • BEST SELLER
    BEST SELLERWattbike Phone Hanger Bracket
    Wattbike Atom Hanger Phone Holder
    £26.50
    Add to basket
  • BEST SELLER
    BEST SELLERWattbike Phone Bracket on Stem
    Wattbike Atom Stem Phone Mount
    £23.50
    Add to basket

Thanks for reading and Happy Wattbiking!

Ian

Filed Under: Designing and 3D Printing Wattbike Atom Accessories at Home

The perfect Zwift Companion App Companion!

March 22, 2022 by Ian

This week saw the launch of two new products that I have designed, tested and produce from my little home office. If you are new to my site, I make Wattbike Atom accessories and print them on my high-end 3D printer.

The first of these products is a ‘Stem’ mount for your phone or a similar small device. This sits neatly and very securely on the ‘stem’ of your Wattbike Atom.

The second of these products is a ‘Hanger’ mount for your phone or a similar small device. This hangs from the bottom of your screen shelf as per the photos below. Designed by popular demand by my avid users that fed back about significant sweating and it getting on the screen – so I figured out a way to move it further away.

If you like any of these products, they can be bought directly from me in my shop here…

  • BEST SELLER
    BEST SELLERWattbike Phone Hanger Bracket
    Wattbike Atom Hanger Phone Holder
    £26.50
    Add to basket
  • BEST SELLER
    BEST SELLERWattbike Phone Bracket on Stem
    Wattbike Atom Stem Phone Mount
    £23.50
    Add to basket

Thanks for reading and Happy Wattbiking!

Ian

Filed Under: Designing and 3D Printing Wattbike Atom Accessories at Home

How to connect Zwift and Wattbike Hub to your Wattbike at the same time

October 1, 2021 by Ian

This is tested only for iOS and Apple. However, due to the nature of the solution, it should be easy to replicate with Android and other devices.

The solution is very simple once you have the know-how. The solution has proved reliable for me, but some have reported dropouts of the signal. I have not yet been able to replicate this. I would suggest that it may be down to any interference and ensuring that your configuration is spot on.

Why would you need both Wattbike Hub at the same time?

This is all down to personal preference. Personally, I love data and it’s been at the centre of making me a stronger cyclist by understanding more about my training (note: I’m a very amateur cyclist!). With Zwift you get a raft of data. However, with the Wattbike Hub, you get much more in-depth data about your riding, including the PES (Peddling effectiveness score) and the Polar View (The peanut!). The data side of things is outside of the scope of this blog. This is to get you set up. It’s up to you what you do with the data.

So, how does it work?

The Wattbike broadcasts two types of signals for devices to control it. This has been designed as a one-to-one relationship and connecting two devices with different channels was more to help with Heart Rate monitors and older devices using ANT+. Bluetooth is the connection of choice for most manufacturers of fitness machines.

Currently, you connect Zwift to the Wattbike via Bluetooth (mostly) and it hooks up pretty seamlessly and off you go. Connect up a heart rate belt and is all set.

However, if you connect the Wattbike Hub to your device (iOS anyway), it will ONLY use Bluetooth. Furthermore, it takes complete control of the Wattbike – which makes perfect sense.

My (borrowed) solution…

Take the ANT+ signal and turn it into a Bluetooth signal and you then have two separate Bluetooth channels to connect to with your iOS devices. All I need now is a clever little device that would sit in the middle and do this.

Enter CABLE NPE, a US company that specialises in clever gadgets.

CABLE NPE device for Wattbike Hub and Zwift at the same time

Link to CABLE device: https://npe-inc.com/cableinfo/ (NOT an affiliate link)

This tiny little device sits in the middle of the ANT+ broadcast from the Wattbike and magically turns the ANT+ data into Bluetooth. And it works – really well.

The only slight catch is setting it up correctly. After much fiddling, testing and more fiddling, I cracked it. Have a go yourself or use my CABLE NPE config screens are below (and save some time/pain/frustration).

Once you have that working, then it’s time to connect your devices and apps. The diagram below attempts to demonstrate how it all fits together – using Zwift as the additional app.

I see no reason why these should be the two apps. I’m assuming this would work with Trainer Road, Sufferfest, Training Peaks and whatever is your choice training poison. So long as they require/facilitate Bluetooth.

Setting this system up, there are a few key pointers to observe (and that ignored, may spoil your euphoria of getting this to work).

You need to choose ONE app to be the ‘MASTER’ i.e. control the Wattbike. It’s impossible for both to control resistance at the same time. In the instance of Zwift, then you would want Zwift to control the Wattbike and ‘be the MASTER’.

IMPORTANT: To facilitate this then you need to CONNECT THE APP THAT YOU WANT TO ACT AS THE MASTER APP FIRST.

Once Zwift is connected via the CABLE NPE Bluetooth, then you should be able to connect the Wattbike Hub via Bluetooth and see your data when riding.

IMPORTANT: You will only start to see the Wattbike Hub data in action – and the PES, Polar view etc. when you start a ‘Quick Ride’ and press play.

That’s it – the above should be enough to get you up and running. I will be updating this blog and instructions to add more detail, but for now, I’m short on time and there are many of you who want to get this up and running now, so there you go.

Perfect dual-screen devices for running two apps with your Wattbike Atom.

  • BEST SELLER
    BEST SELLERWattbike Phone Hanger Bracket
    Wattbike Atom Hanger Phone Holder
    £26.50
    Add to basket
  • BEST SELLER
    BEST SELLERWattbike Phone Bracket on Stem
    Wattbike Atom Stem Phone Mount
    £23.50
    Add to basket
  • DUAL SCREEN
    DUAL SCREENWattbike Dual Screen Solution
    Wattbike Atom Dual Screen Mounting Bracket
    £28.50 – £33.50Price range: £28.50 through £33.50
    Select options

And if you’ve read this far, then here’s a reward of 10% off anything from my shop. Use code ‘pot10ac‘ and don’t tell anyone else. It’s a secret!

Happy Wattbiking, Zwifting and Training.

Ian

Filed Under: Designing and 3D Printing Wattbike Atom Accessories at Home

  • Page 1
  • Page 2
  • Page 3
  • Go to Next Page »

Footer

  • CHECKOUT
  • BASKET
  • Shop of THINGS
  • ACCOUNT LOGIN
  • CONTACT
  • VESA Fitting Instructions
  • Privacy Policy
  • Terms & Conditions
  • Shipping, Refunds and Returns

Sign up to hear about the latest THINGS first.

This field is for validation purposes and should be left unchanged.

Copyright © 2026 · Ian Hancock · I am in no way affiliated or connected to Wattbike · Log in